REVIEW · YOGYAKARTA
Yogyakarta: Batik Making Class with Expert
Book on GetYourGuide →Operated by Nirvana Borobudur Tour · Bookable on GetYourGuide
Batik only looks complicated at first. This class gets you doing the real work fast: drawing your own batik design and learning the wax-resist steps with expert guidance. I especially like the hands-on canting instruction, because it turns a tradition into something you can actually repeat. One drawback: the process rewards patience, and if you rush your pencil sketch or wax lines, fixing it takes extra time.
You also don’t just sit at a table. You’ll get a batik museum visit as context, then head straight into a guided workshop where the result becomes yours. In reviews, the pacing can feel relaxed, and beginners often leave feeling more confident than they expected.
Logistics are straightforward. The workshop is about 2 hours for the main package (it can run 2–3 hours depending on what you choose), and it happens near Yogyakarta’s city center—hotel pickup exists but costs extra.
In This Review
- Key Things That Make This Batik Class Feel Different
- A Two-Hour Batik Class You Can Actually Finish
- Inside the Process: Sketch, Wax, Dye, and the Finishing Trick
- 1) Manual drawing batik technique (pencil first)
- 2) Apply wax using a heated canting
- 3) Color it (dye step)
- 4) Boil/finish so the wax disappears
- The Batik Museum Visit: Why Context Matters Before You Dye
- Tools, Materials, and What You Actually Take Home
- Guides and Pacing: When Instruction Feels Human
- Price and Value: Why $36 Feels Fair Here
- How to Prepare So Your Design Looks Like Your Design
- Who This Batik Class Is Best For
- Should You Book This Batik Class?
- FAQ
- How long is the batik making class in Yogyakarta?
- What will I make, and do I get to take it home?
- Does the experience include a museum visit?
- Is the instructor available in English?
- What should I bring with me?
- Is hotel pickup available in Yogyakarta?
Key Things That Make This Batik Class Feel Different
- You create your own design first, then the technique supports your artwork instead of the other way around
- Long-experienced practitioners guide each step of wax and dye so you’re not guessing
- Wax-resist control matters, and the instructors help you correct issues before the dye step
- The museum stop adds context, so your pattern choices make more sense
- You take home the finished piece, including a 25x25cm cotton cloth for the 2-hour workshop
A Two-Hour Batik Class You Can Actually Finish
If you’ve looked at batik photos and thought, That can’t be made in a couple hours, this is the rebuttal. You start with a pencil sketch on cloth, then move into the classic wax-resist method. That means your pattern isn’t just decoration—it becomes part of how the dye behaves.
The big win for me is that the class is built around the full workflow, not just one fun demo. You’ll go from design to wax application to coloring. Then the finishing steps happen in a way that turns your lines into the final batik look.
This kind of workshop is also a good fit if you’re a beginner. One review described guides Ridwan and Prakash walking their group through the process from start to finish, with clear step-by-step help. That’s the difference between watching batik and making batik.
The main thing to consider is time and attention. Even with guidance, you’ll be asked to work slowly enough to keep your pattern clean. If you hate detail work, you may feel the class takes longer than you imagined—especially during the wax and fine-line stages.
You can also read our reviews of more tours and experiences in Yogyakarta


Inside the Process: Sketch, Wax, Dye, and the Finishing Trick
Here’s the workflow you should expect. I’m going to describe it the way you’ll experience it, because batik makes more sense when you know what’s supposed to happen next.
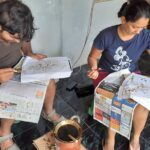
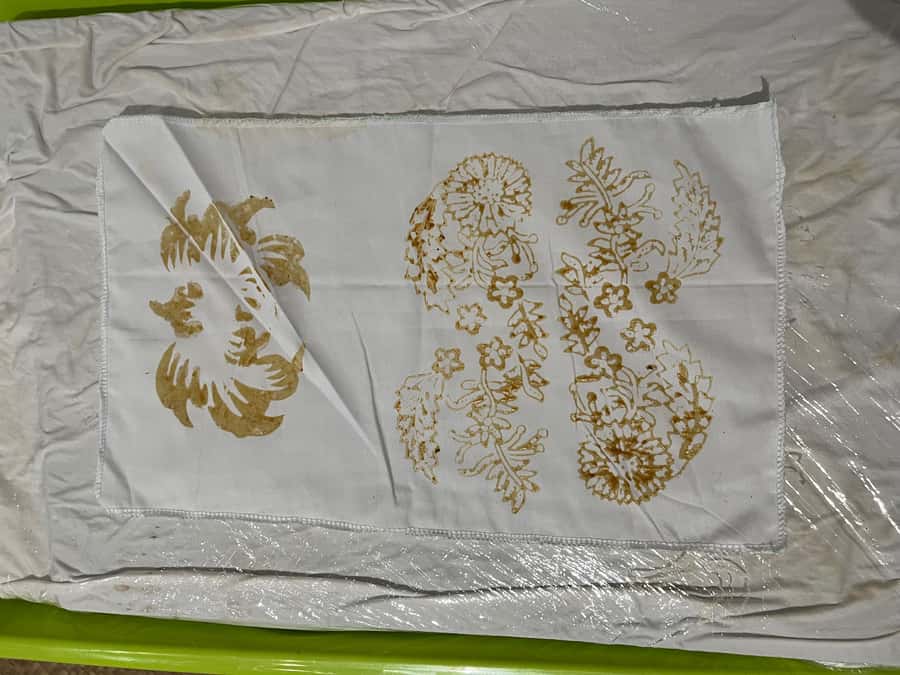
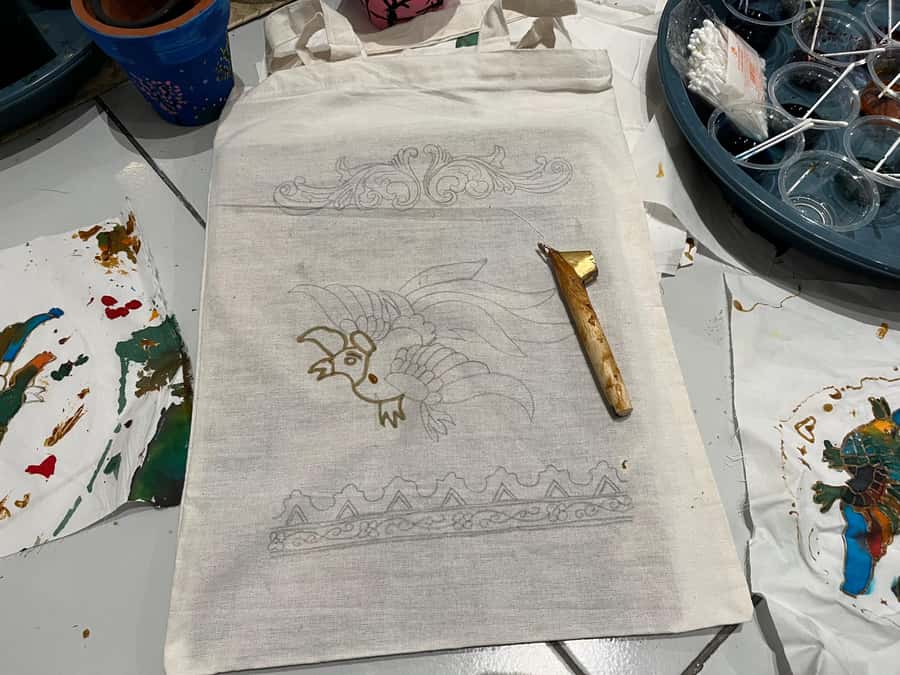
1) Manual drawing batik technique (pencil first)
The class starts with your design. You’ll draw your motif directly on the fabric using a pencil. This is more than “pick a pattern”—you’re learning how batik layout works on cloth so the later wax lines protect the right areas.
A practical note from experience-based feedback: your early marks should be made with the right mindset for what comes next. One participant said a pen signature later disappeared when the cloth was boiled, while pencil-based steps stayed aligned with the expected workflow. So if you’re tempted to personalize with pen right away, ask the instructor what will survive the finishing stage.
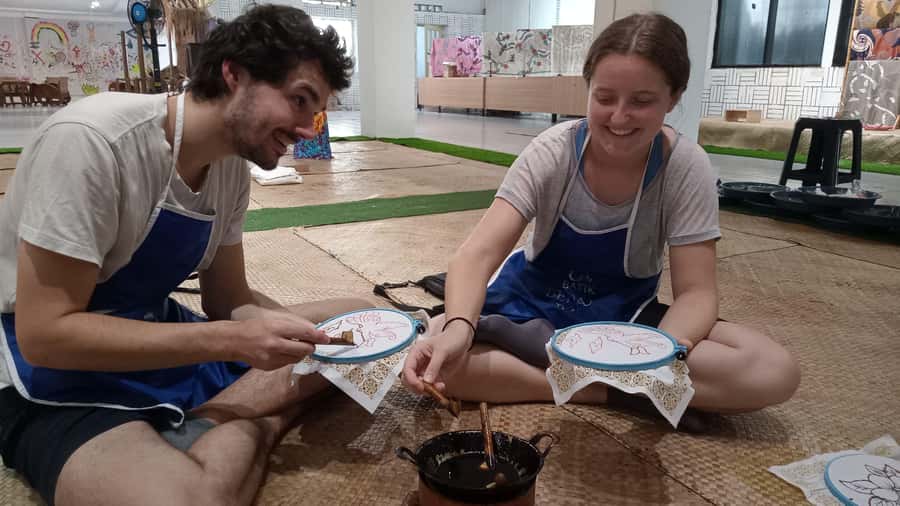
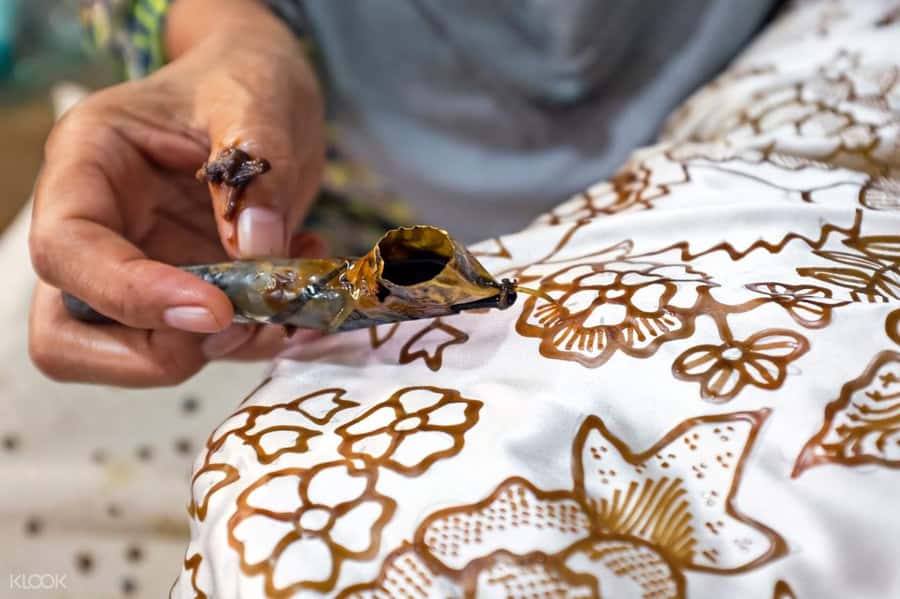
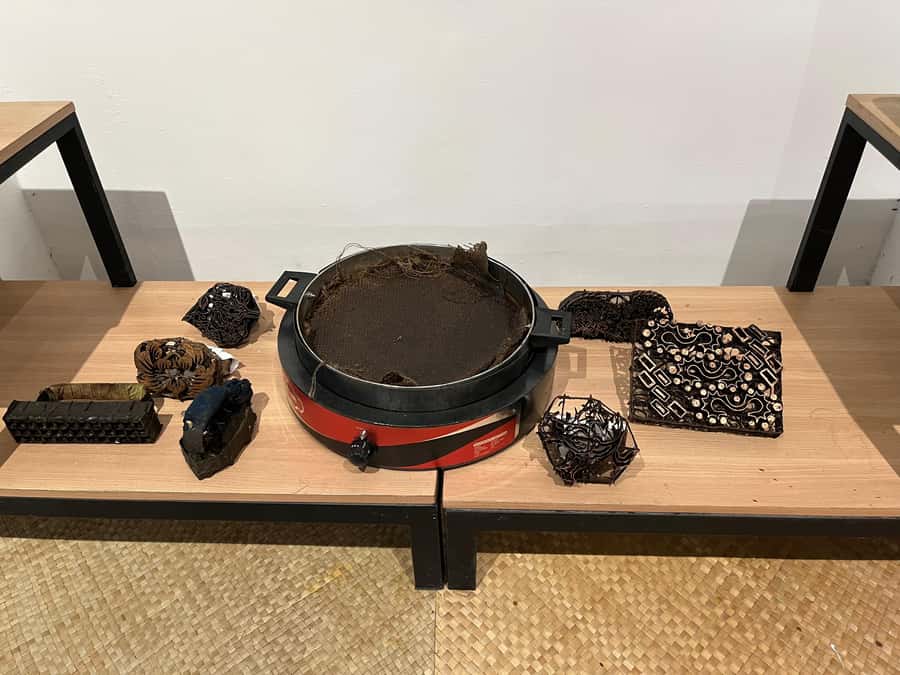
2) Apply wax using a heated canting
Next comes the signature step: wax. The wax is heated using a small stove, then applied to the cloth using a tool called a canting. The canting controls line thickness and where wax lands, which directly shapes your final pattern.
This is also where you can slow down just enough. One review mentioned a key issue: if the wax isn’t applied with enough coverage, it may not transfer through properly. They spent extra time on fine lines that didn’t fully hold for coloring, then an older lady in the group helped fix things. That’s a good reminder: don’t assume your wax amount is correct—check in. If the teacher can spot a coverage problem early, you’ll waste less time later.
3) Color it (dye step)
After the wax stage, you color the fabric. The wax resists dye, which is how batik keeps those white or un-dyed lines (depending on your color plan). In other words, your wax application is the blueprint for your design once dye hits.
If you’re coloring for the first time, you’ll want to be open to the teacher’s guidance about how the dye will read on cloth. One participant said they were later told they also needed to paint the background; otherwise the end result might look odd. That kind of instruction isn’t about correcting you—it’s about giving your design balance.


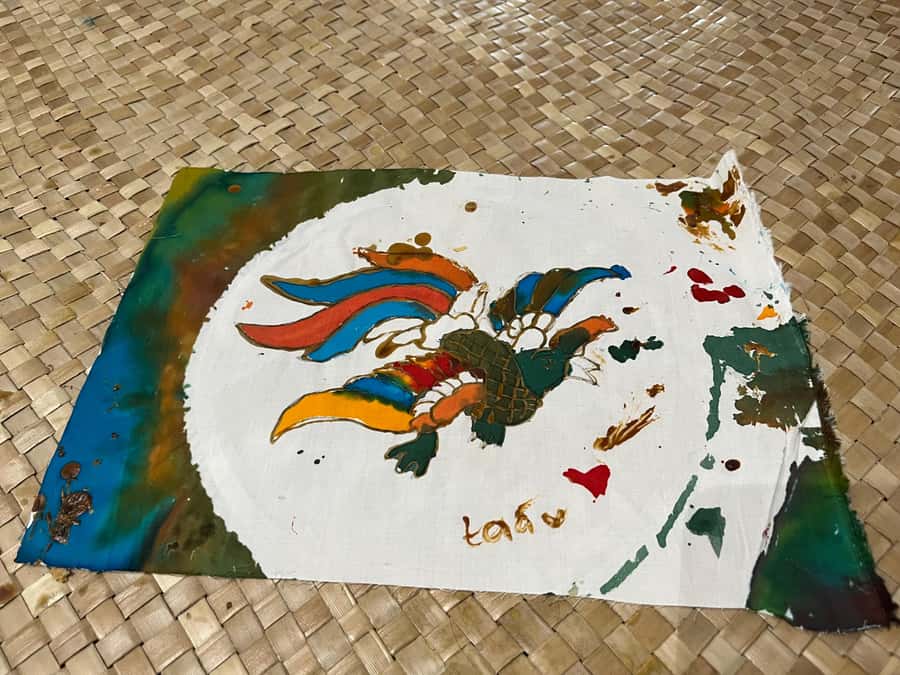
4) Boil/finish so the wax disappears
Finishing is the part that feels like magic. One review specifically mentioned the cloth being boiled, with the wax disappearing and leaving behind white lines. That also explains why certain pen marks may vanish. For many first-timers, this is the moment the whole process clicks.
So what’s the lesson? Don’t treat every pen mark like it will become part of the final batik picture. Treat personalization as something to plan in the same way your motif is planned—by asking what survives the finishing step.
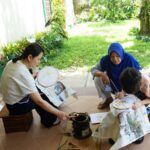
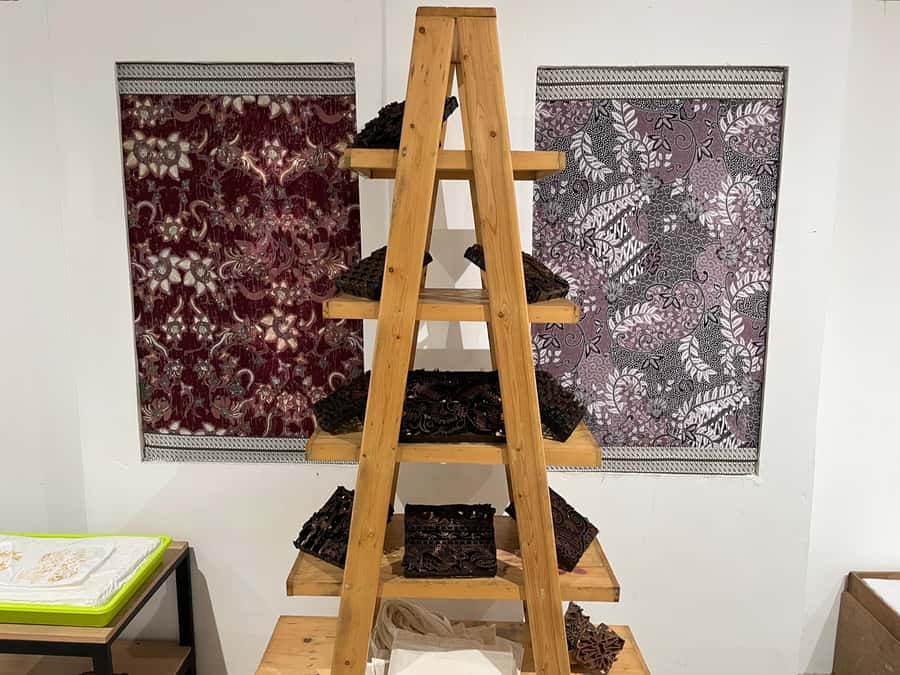
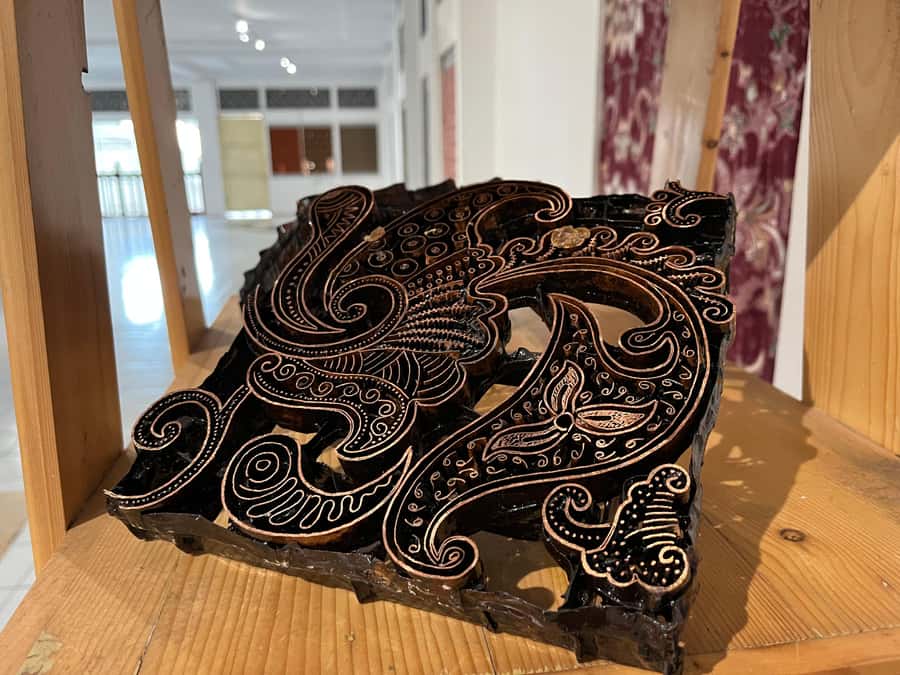
The Batik Museum Visit: Why Context Matters Before You Dye
The workshop includes a batik introduction plus a batik museum visit. Even if you think you already know what batik is, this helps you see the difference between random patterns and intentional design choices.
In a museum context, you typically get to look at examples and understand how motifs are used and how the techniques connect to the final look. The practical benefit is simple: once you see what makes patterns work, your own design decisions feel more grounded. You’re no longer just drawing what looks pretty—you’re drawing with an understanding of how wax and dye will translate your choices.
Also, this stop breaks up the day so you’re not just rushed from arrival to coloring. It makes the hands-on part more satisfying.
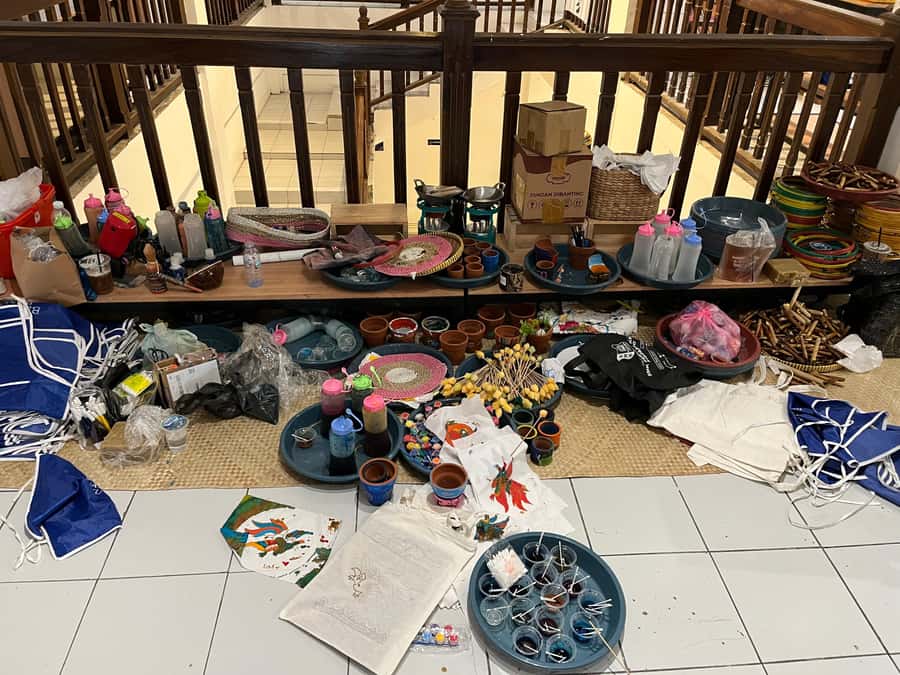
Tools, Materials, and What You Actually Take Home
This class is built to include the tools and materials. You’re not expected to bring supplies, and you’ll have everything you need for the workshop process.
For the 2-hour workshop package, the cloth is included: a 25x25cm cotton piece. That’s the right size for a first batik without turning your day into a craft marathon.
The other key point is ownership. The finished batik is yours. That matters because it changes how you approach the class. You’re not making a souvenir you’ll later donate to a drawer. You’re creating something you can frame, gift, or keep as proof you pulled off a traditional technique with your own hands.
One review mentioned the class happened inside a beautiful batik shop, and they received gifts to take home. The “extras” matter, but the bigger value is the actual finished piece that comes from doing the work—not just buying the product.
Guides and Pacing: When Instruction Feels Human
The instructor is English-speaking. That alone is a big deal if you’re trying to follow a technique with multiple steps and precise timing.
In reviews, guides Ridwan and Prakash were highlighted as charismatic and kind, with step-by-step support for beginners. They helped groups choose designs, apply wax, and work through dyeing from start to finish. That’s the sort of guidance that keeps mistakes from becoming disasters.
Pacing is also worth noting. One participant said they weren’t rushed even when they took time with each part of the process. Still, the class runs on a schedule. You should plan to focus when it’s your turn—because the wax and dye steps don’t pause just because you’re still thinking.
If you’re someone who likes to get questions answered early, you’ll have a good time. Ask about wax coverage while you’re applying it. Ask how the background should be handled before coloring gets too far along. And if you mess up a line, ask what the teacher recommends for recovery. The goal is a finished piece you’re proud of.
Price and Value: Why $36 Feels Fair Here
The price is $36 per person, for a class that runs about 2 hours (with some packages taking 2–3 hours). On paper, that’s just craft instruction. In practice, you’re paying for the full set of benefits:
- Batik introduction plus a museum visit
- The actual hands-on workshop with tools and materials included
- Experienced teaching throughout the process
- A finished piece you keep (including a 25x25cm cotton cloth for the 2-hour package)
Craft classes often end up charging extra for supplies or for the guided parts. Here, the structure is bundled. You’re also getting someone to explain the “why” behind each step, which is what saves you from trial-and-error.
The one extra cost to factor in: hotel pickup and drop-off is available for an additional IDR 200k in the Yogyakarta area. If you’re already comfortable using a taxi or ride-hailing, you can skip that add-on and keep the total lower.
How to Prepare So Your Design Looks Like Your Design
You’ll want to show up with basic basics covered. The class asks you to bring snacks and water. Do it. Two hours of careful work uses more energy than you think, especially if you’re concentrating on line control.
A few more practical tips, based on how the process tends to behave:
- If your wax lines are too light, you might not get the dye results you expect. Ask for confirmation mid-process.
- Stick with the class’s drawing approach (pencil sketch first). If you want a signature, confirm where and how it should be made so it survives the finishing steps.
- If the teacher suggests painting a background, don’t treat it as optional. One participant reported that skipping it made the design look unfinished.
Also, consider your tolerance for mess. Wax and dye can be the kind of situation where accidents happen. The class provides tools and materials, but you’ll still want clothes you can live with if you get a small stain.
Who This Batik Class Is Best For
This is ideal if you want a real cultural craft that doesn’t require prior skill. Reviews show that beginners can do well, especially with detailed guidance.
It’s also a smart choice if you like activities that produce a tangible result. You’re leaving with your own batik cloth, not just a photo or a vague memory.
You might want to reconsider if you’re the type who hates detail work or you’re planning something stressful right after the class. Wax-resist work takes focus, and you’ll get the best results if you give yourself buffer time.
Should You Book This Batik Class?
I’d book it if you want hands-on Yogyakarta culture and you like learning by doing. The combination of batik museum context plus a guided workshop makes it more than a novelty activity. And since you keep the finished piece, the $36 feels grounded in real value.
Skip it only if your main goal is quick sightseeing with zero craft time. This isn’t that. It’s a focused, skill-based session, and that’s exactly why it works.
If you go, ask questions at the wax stage, don’t assume fine lines will color correctly on their own, and follow whatever guidance you get about backgrounds and finishing steps. You’ll end up with a batik you can actually point to and say: I made that.
FAQ
How long is the batik making class in Yogyakarta?
The workshop takes about 2–3 hours depending on the package you take, with a 2-hour option available.
What will I make, and do I get to take it home?
You’ll make your own batik design on cotton cloth, and the results of the class belong to you.
Does the experience include a museum visit?
Yes. The experience includes a batik museum visit as part of the introduction.
Is the instructor available in English?
Yes, the instructor is listed as English.
What should I bring with me?
You should bring snacks and water.
Is hotel pickup available in Yogyakarta?
Hotel pickup and drop-off are available for an additional charge of IDR 200k in the Yogyakarta area. You can also go by yourself using a taxi.